Pegger set up Instructions
Before you start with Pegger, the appropriate files typically are prepped in ArcGIS.
From the DEM file you create
1. Contour shape file with appropriate contour interval. Typically select 1 ft contour interval. It provides for a better pegging alignment than a standard 10-ft contour map
2. Create also a 10-ft contour shape file (why, will be explained later
3. Create a slope class map. It helps in visualizing where to go with the pegged routs and which area to avoid
4. IMPORTANT!!!! The layers you just created have to be stored directly under the c-drive. Folder and file names CANNOT have any empty spaces. Use underscores
for example ---Local Disk (C:) > St_Ed_GIS_Data
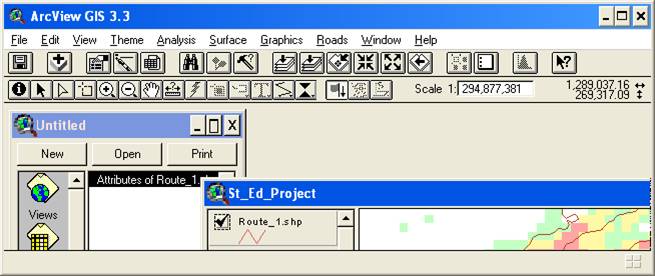
Start AcView
Check Extensions Pegger, Spatial Analyst checked
Check create new project > check “as a blank project

Click on New then Project > Rename > type the Project
name (e.g. St_Ed_Project)
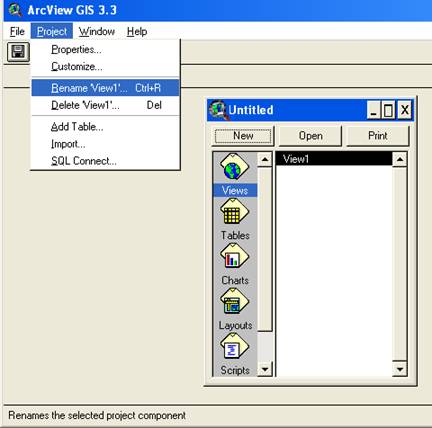
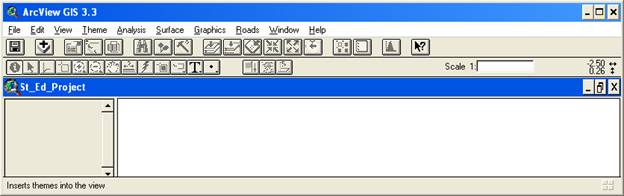
Then click “Open”

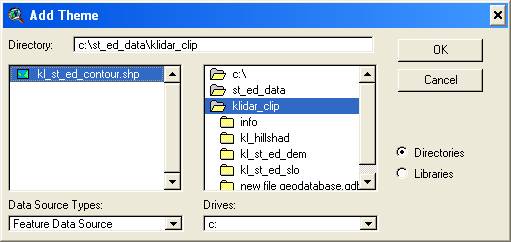
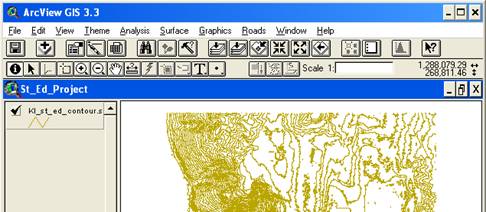
To add themes (or layers) click on +
Then navigate to the proper directory where the layers are
Select the desired layer (e.g. Kl_st_ed_contour.shp), click OK
Add both the 1 ft contour.shp and the 10 ft contour.shp layer
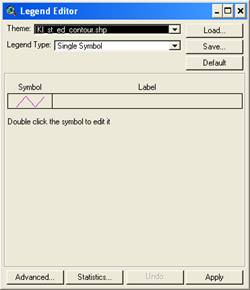
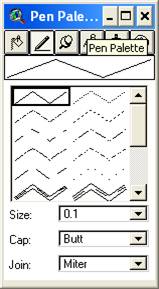
The layer gets added but does not yet display.

You can change the display lines, etc by double-clicking on the layer theme and select line color, etc
|
|
|
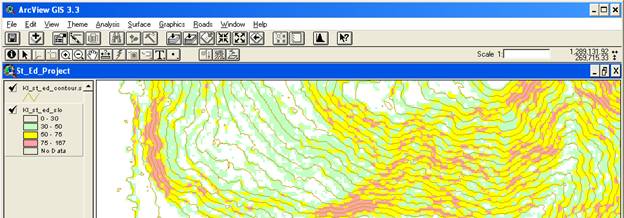
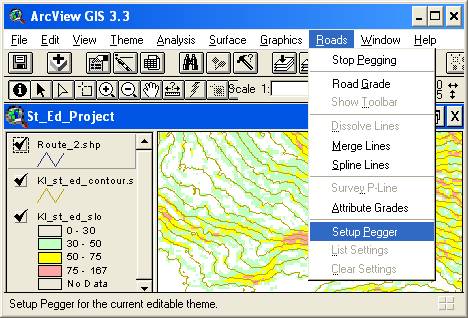
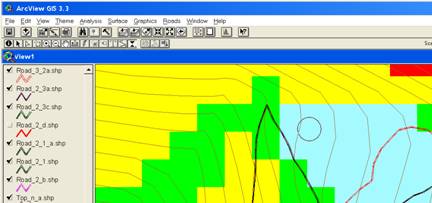
To help with the pegging
process it is useful to add additional layers such as slope class, to help with
identifying critical areas and hillshade to help with terrain visualization
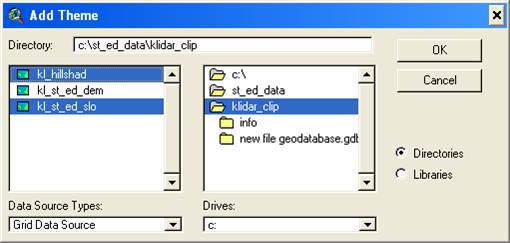
Again click on the “ Add
Theme” button, navigate to folder.
Slope classes and hillshade
themes are rasters, so make sure to select “Grid Data Source” in drop down
menue
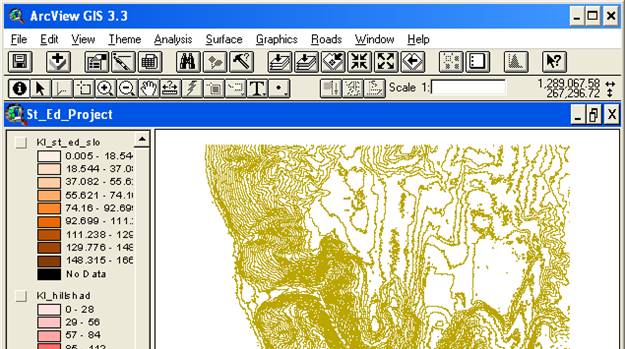
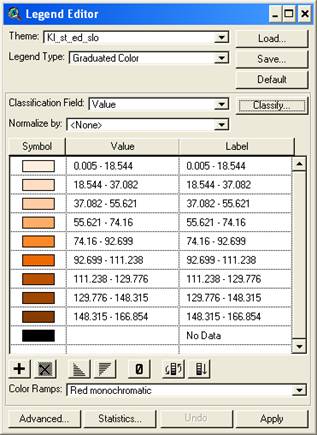
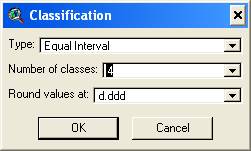
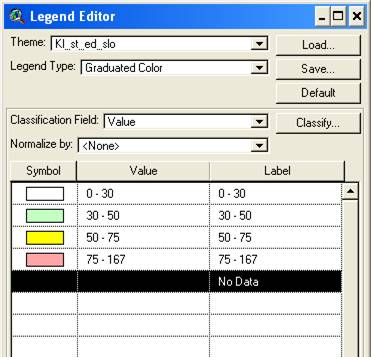
Slope class breaks have to be set now to the desired
values. Double click on the slope class
layer, then click on “Classify”
Then select the desired colors (double click in the color box) and type in the desired slope class range and breaks - click “Apply” button
|
|
|
To delete a theme click on “ Edit” > “Delete” in the GUI
Starting the Pegging Process
create new
theme for pegging
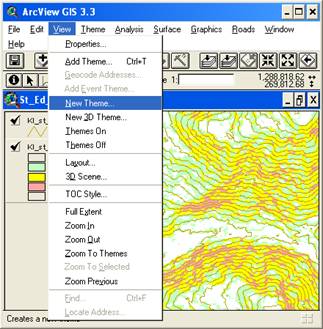
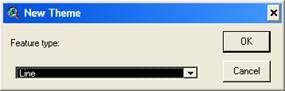
Create new road theme
View > new theme
(the one you are going to peg). Make sure to select “line”
|
|
|
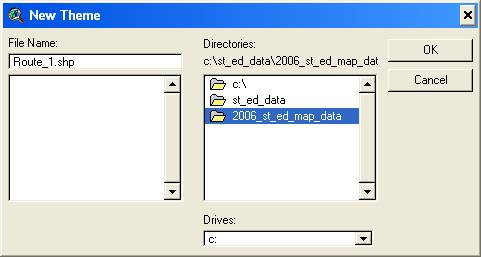
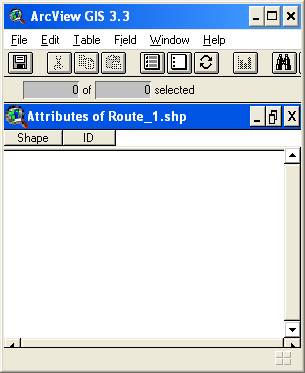
Make the new road theme active by clicking on the layer in the Table of Content (Start Editing)
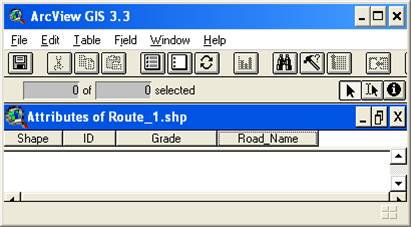
Open now the table to create the necessary fields to store grade info and road names
|
|
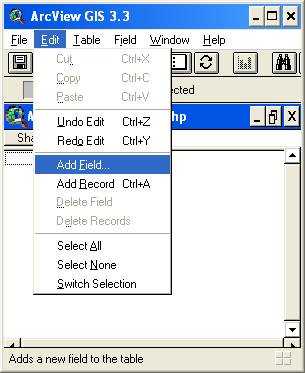
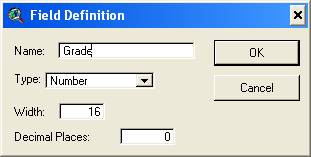
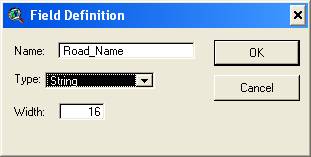
Add fields for “Grade” and
“Road_Name” Edit > Add Field
|
|
|
|
|
|
|
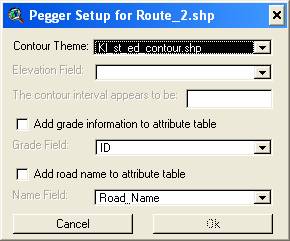
Close table view and open “Setup Pegger” to finish the setup process
Contour theme > select the appropriate contours. Make sure to select the 1 ft contour theme
Elevation field, should show the appropriate cont our interval (e.g. 1 ft)
Grade field and road name
|
|
If
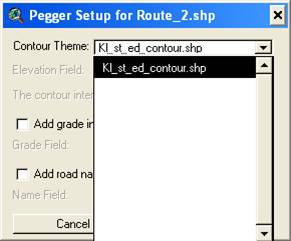
Elevation Field is grayed out, click on drop down window of Contour Theme |
|
If elevation field does not
show up, then go back to contour theme, select from drop down menu anything
and try again. Usually just hung up so
need some shaking pick any other field to
wiggle the memory, go back and pick elevation again from selection and it
should work Select the appropriate
drop-down field for Elevation, Grade Field and Road Name |
|
|
|
|

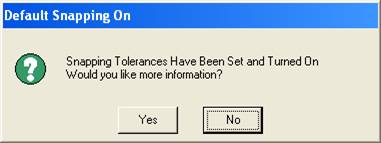
Usually
click NO.
To set the appropriate snapping tolerances
Theme > Properties, then
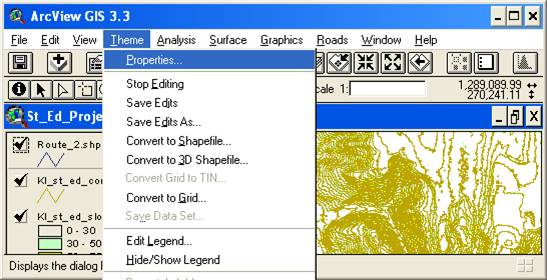
in the window click on Editing and set the desired snapping tolerances
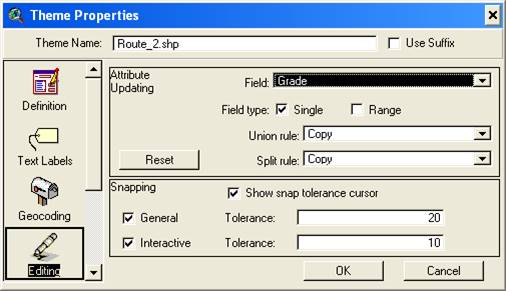
Snapping
Make theme (layer ) active
Start Editing
Click on snap tool (now you can set snap tolerances interactively on screen)


Click on snap tool
Then click inside map view and drag, it will set the snap tolerance distance (circle)
Now you are ready to go
Roads > Road Grade
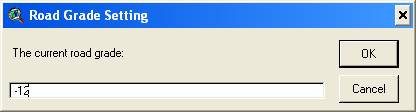
Enter desired grade and then click on the Pegger Tool
To start a new road with the Pegging tool, hold down the shift key while clicking on a contour line in the view. Pegging will begin when you click on a single contour line. If Pegger cannot determine which contour is the desired start point then the following information will be displayed:
To stop editing a theme and commit your edits
Choose Stop Editing from the View's Theme menu or Stop Pegging from the Roads menu to disable editing on the theme. You will be prompted to save your edits.