Crankcase
Cover Assembly
- Place the Crankcase Cover back into the
appropriate position, ensure that the proper gasket is in
place as well. Slide the cover on so that it properly
aligns with the two locating pins.
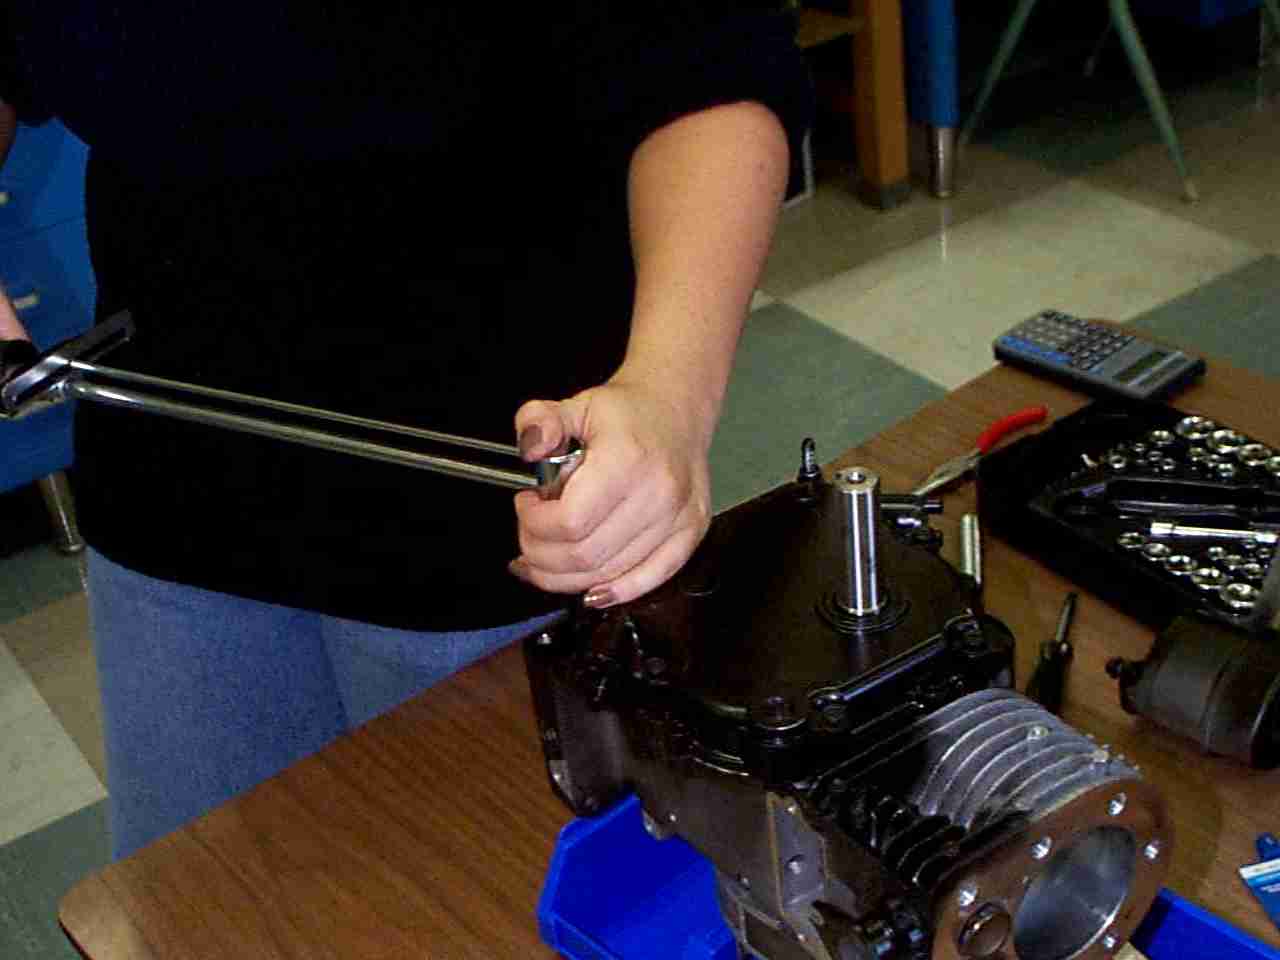
- Replace the seven Crankcase Cover 3/8" and
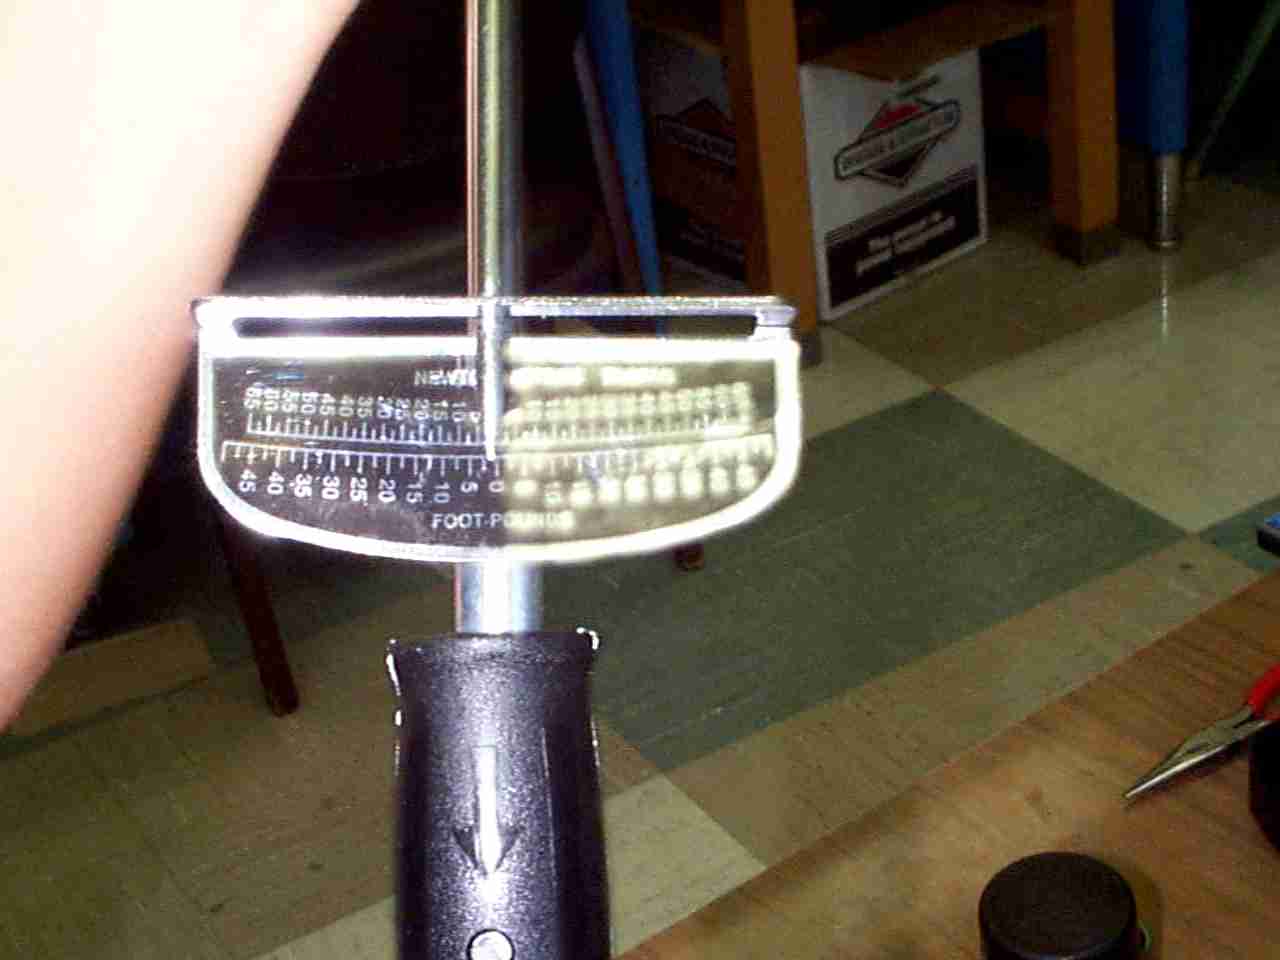
tighten them by hand. The bolts must tightened using the
torque wrench to 85 in - lbs or 7 ft - lbs, in a star
sequence, follow the numbers on the diagram below for the
correct bolt tightening sequence. Tighten the bolts in 3
stages using the sequence shown. The first stage should
be up to approximately 30 in-lb. and second should be up
to 60 in-lb. and then firmly to 85 in-lbs. This will
prevent and warping or deformation of the cover.