Crankcase
Cover Removal
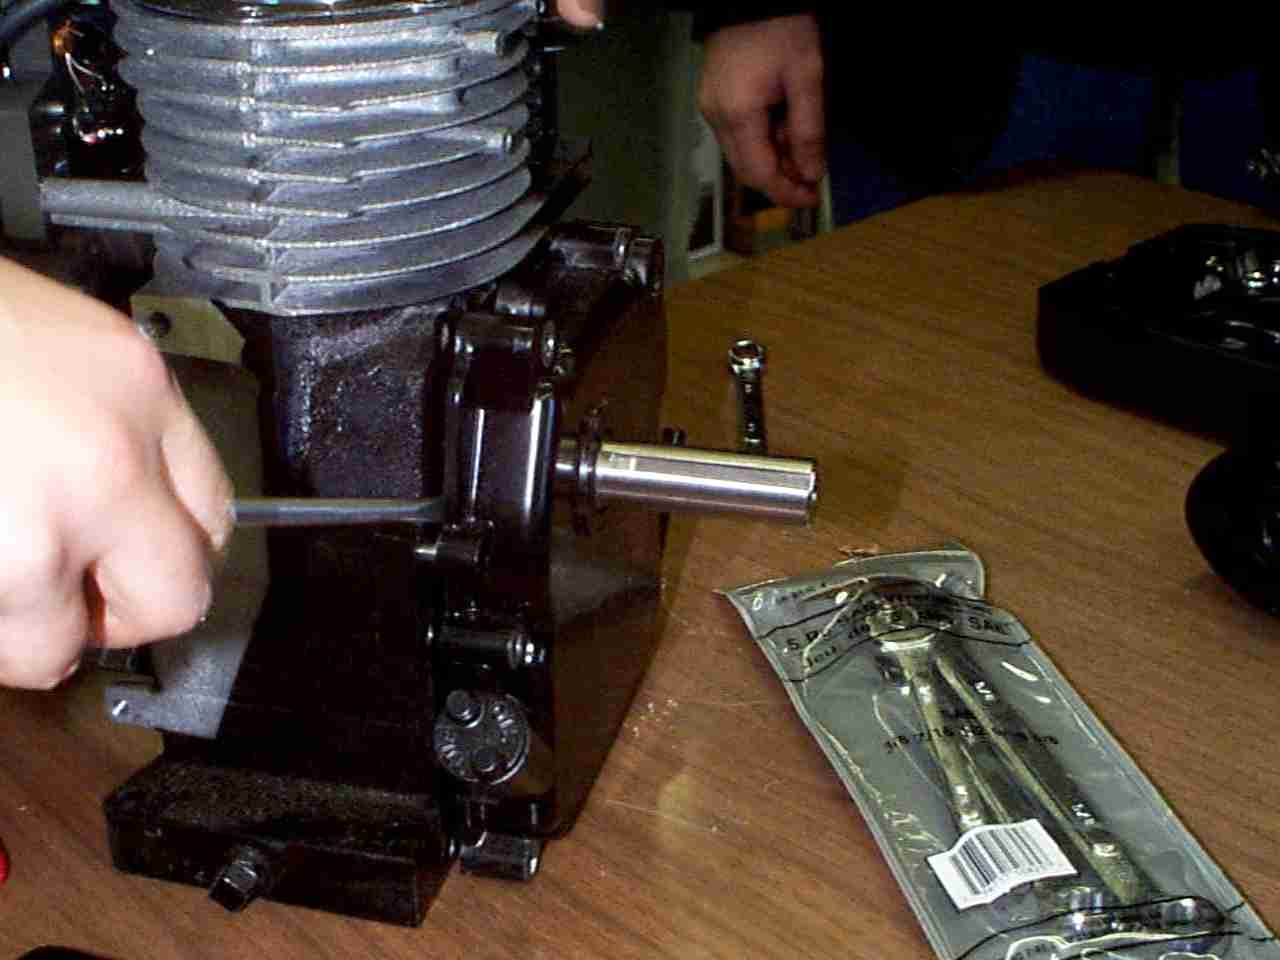
- Remove the seven Crankcase Cover 3/8" bolts
using the 3/8" socket and ratchet.
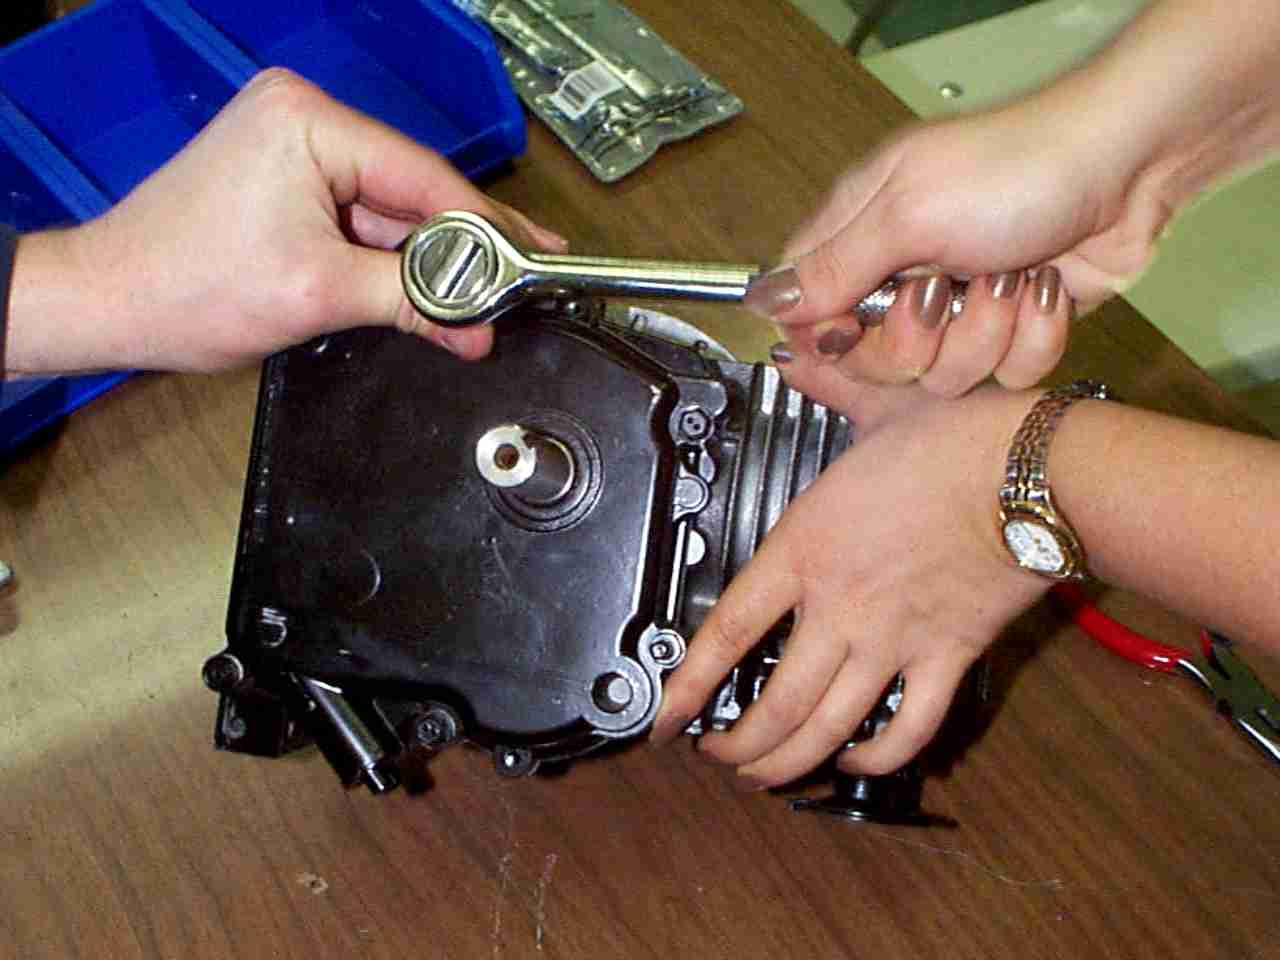
- Once all of the bolts have been removed slide
the Crankcase Cover off the Cylinder Block,
note that there are two guide pins located on each side
of the cover. If necessary, use the flat head screw
driver to gently pry the cover off as seen below.
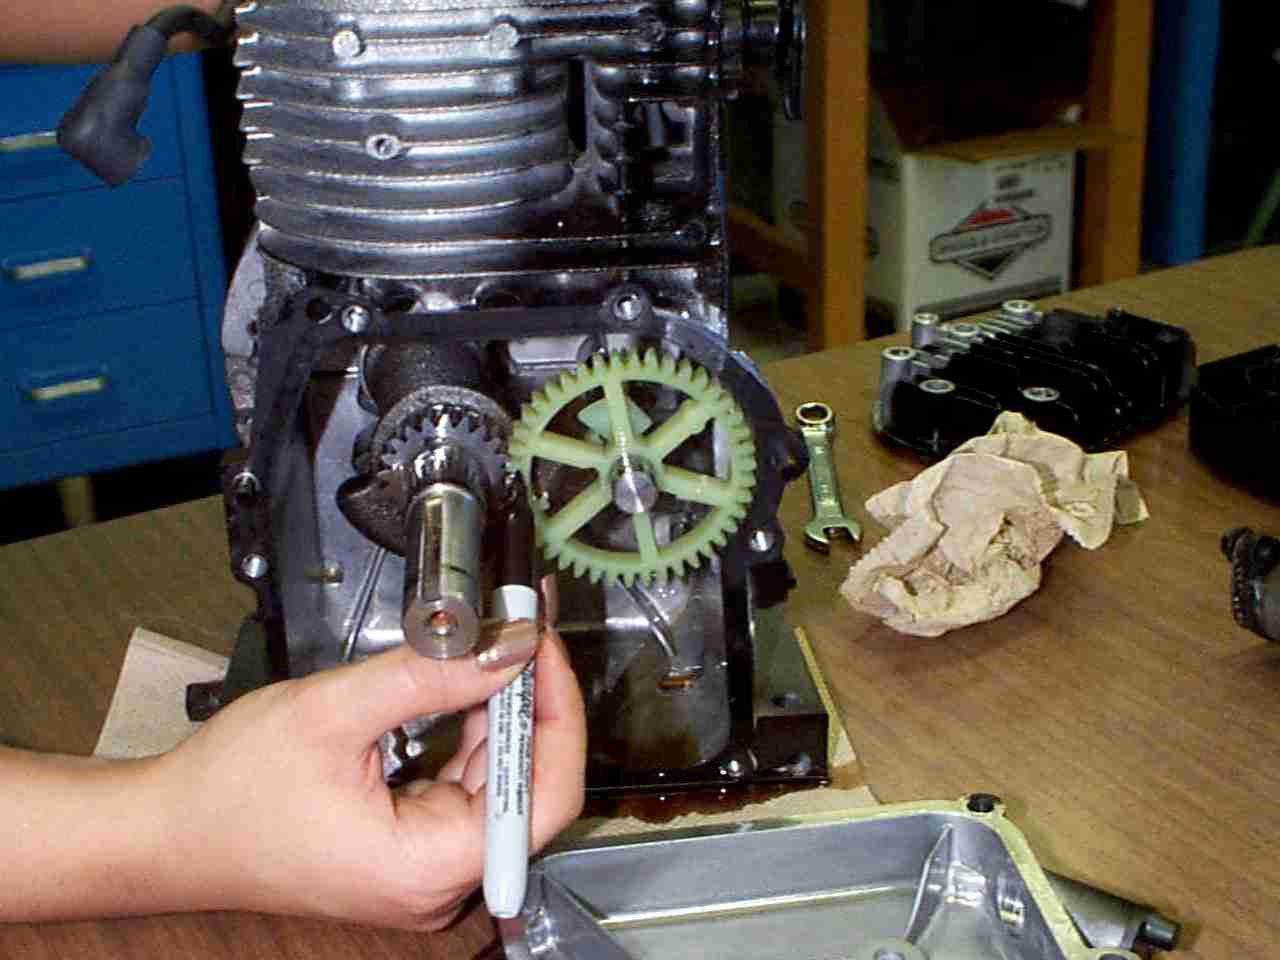
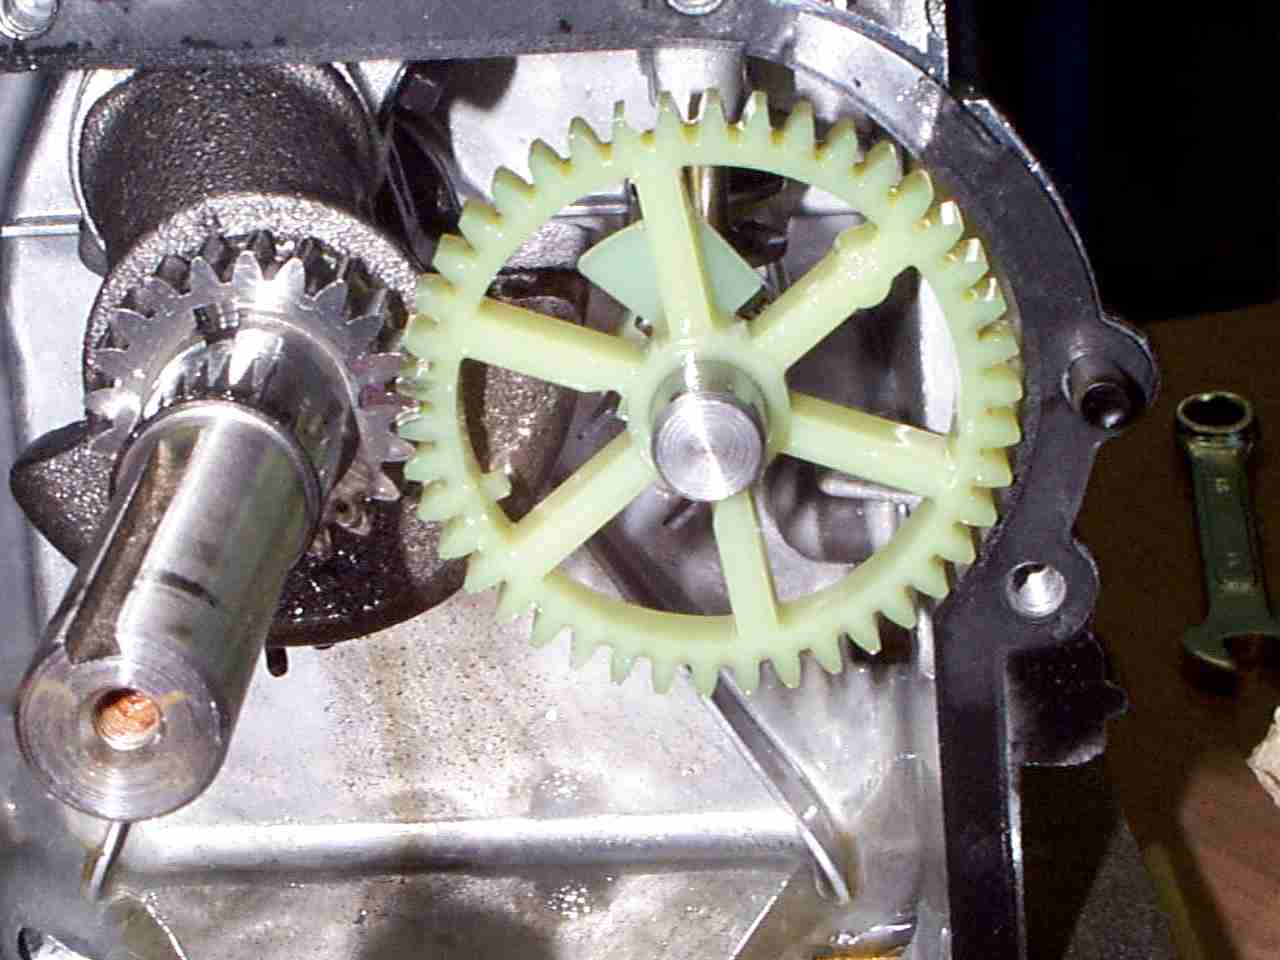
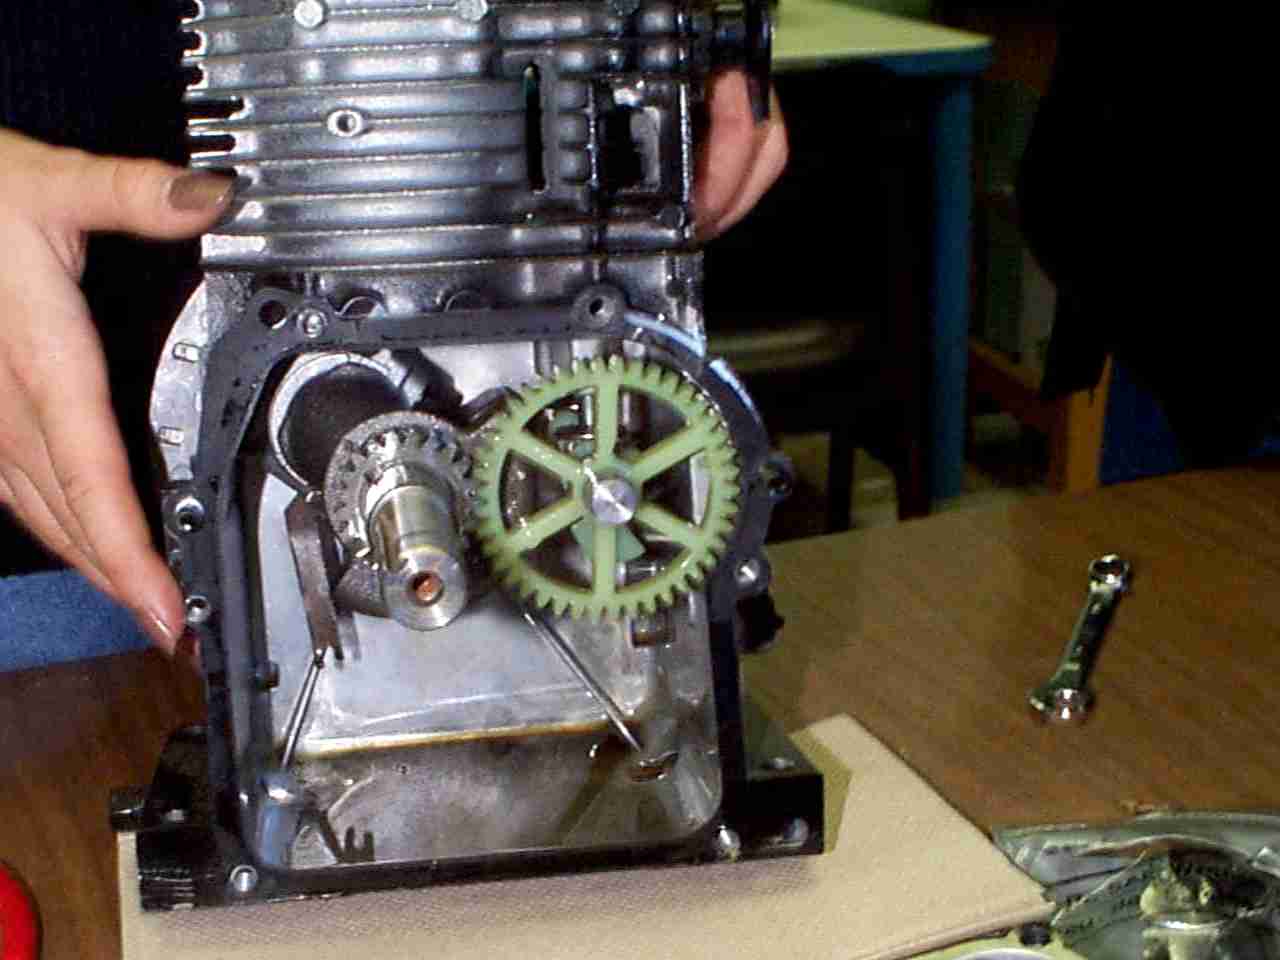
- Once the Crankcase Cover has been
removed the Crankshaft, Camshaft, Connecting Rod, and
Push Rods can be clearly seen. Once again, take a few
moments to examine these parts while slowly rotating the
flywheel, otherwise the Crankshaft could be
damaged since only one side of the Cylinder Block
supports it. Notice how the Crankshaft drives the Camshaft,
which in turn operates the push rods that open and
close the valves. Examine the size of each of the gears
on the crankshaft and camshaft. The camshaft gear is
twice as big as the crankshaft gear, this is because the
valves only open every 720 degrees in a 4 stroke engine.
The timing of these valves is critical, for this reason
the next step is very important.
- Mark the point on the Crankshaft Gear
and the Camshaft Gear meet with a felt tip marker,
this will ensure proper gear alignment when the engine is
re-assembled. NOTE: it is critical for engine operation
that the crankshaft and camshaft are properly
synchronized.