TAPESTRY: The Art of Representation and Abstraction
Rhino + V-Ray: Environments
What' it all about?
The geometry of your model probably has some context: a site, a neighborhood, etc. You might choose to extend your model to include much or all of this context, but that can get unwieldy, so it might be easier to add that context as a background image instead. That is an environment and in V-Ray there are two main ways to do this.
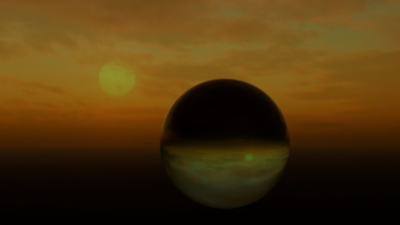
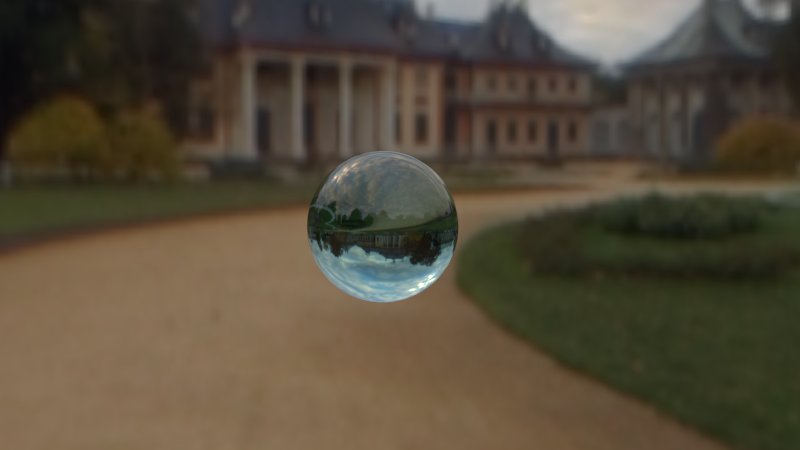
The model at right consists of a single glass ball. The environment of the ball is provided by an image of a sunrise, wrapped around the ball and rendered in the reflections and refracted light. That's what this is about.
Two ways to do it:
Using the "Environment" panel

In the V-Ray Asset Editor's "Settings" area look for the "Environment" options.
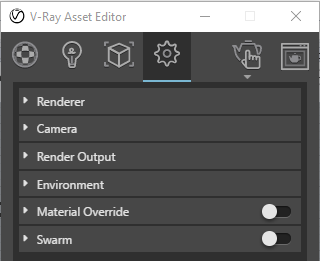
Click on "Environment to expand that section.
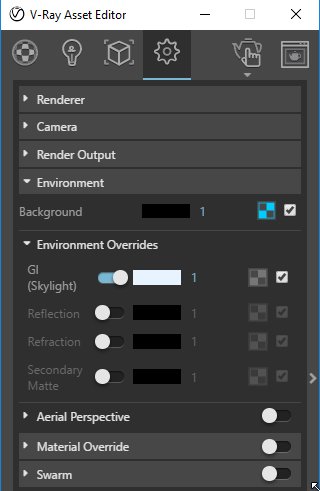
Setting the "Background"

The background setting may be a simple color (default=black), or a texture (indicated by the ![]() icon). If it is a texture, the brightness of the image is controlled by the numeric input field. The check-box (
icon). If it is a texture, the brightness of the image is controlled by the numeric input field. The check-box ( ) is used to toggle between background color and background texture.
Setting a background image
When you click on the ![]() icon the right panel of the Asset Editor will open to reveal the Texture manipulation options:
icon the right panel of the Asset Editor will open to reveal the Texture manipulation options:
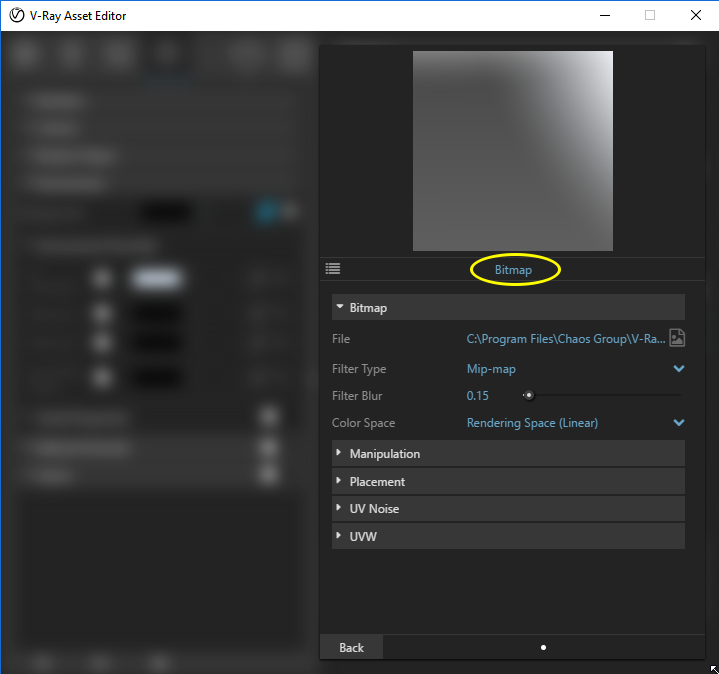
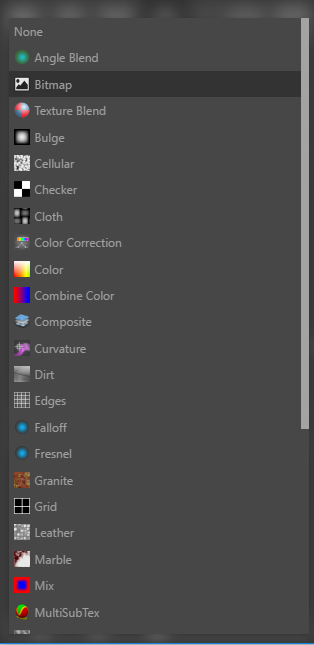
If it doesn't say "bitmap" under the image swatch (highlighted in yellow here), click on the word that is there to bring up the texture options list. Bitmap is up towards the top--pick it to display the options shown above.
At the right edge of the Bitmap area, click on the icon to select an image file as a texture image. This will bring up an OS dialog box to browse for the file. If the file is an HDR or EXR image, be sure the ColorSpace option is "Rendering Space (Linear)". If it is a JPG file, it's probably "Screen Space (sRGB)".
But Wait! There's More!You have now selected a Texture to use as the background or environment image, but there are a couple of additional details to take care of. Read on!
The UVW Panel
At the bottom of the Texture Options dialog are the UVW controls that determine how the flat geometry of the image you loaded is treated in order to make an environment. Click on it to explore the options.
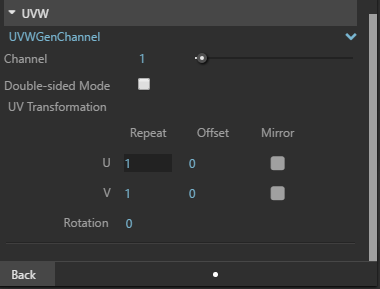
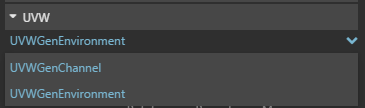
A texture such as the one you just loaded can be used as part of a material (a "channel") or as part of the background (an "environment"). Click the blue text to select the appropriate settings (in this case UVWGenEnvironment)
Next, we need to tell V-Ray how the image geometry relates to the (spherical) environment of the model. There are several options:
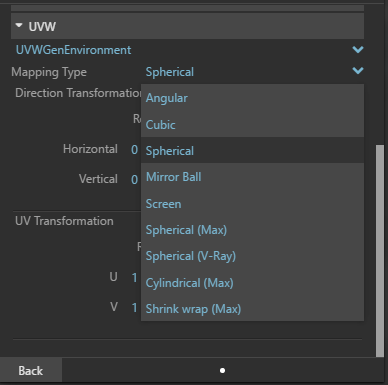
[Main] Mapping Types
- Cubic - Use this if your image looks like an unfolded box.
- Spherical - Use this if your image is a rectangular unrolling of a sphere.
- Screen - This is the simplest sort of background, the kind captured by a simple camera shot. Use this if your image is simply meant to fill the viewport and provide a backdrop to your model.
The bottom of this panel is used when your image doesn't cover the whole sphere or when the top of the image doesn't correspond to the top of the environment. With luck you won't have to change these.
Render
With your environment wrapped around your model, you will always have context for your images, though you do need to remember that the model is in the middle of a cavernous image. It won't cast shadows on the ground (search on "shadow catcher" for more on that), and you can't "place" model elements relative to the background easily.

Caution!
If you wish to save images in the PNG format, you need to take care that you turn off Global Illumination in the Environment Overrides area. You can check that you have done this correctly by checking the Alpha channel in the VFB. It should be all-white. If you save as JPG the problem does not occur.
Using a "Dome Light"
This approach is is actually quite similar in result, but different in process:
- Do NOT set a background or environment override (GI) texture.
- Do place a V-Ray "Dome Light" in your model (location isn't important).
In the V-Ray Asset Editor
In the main Asset Editor window, select the Lights option.
This will reveal a list of the lights defined in your model.
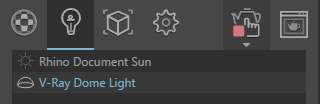
Select the Dome Light. An options panel will open on the right side.
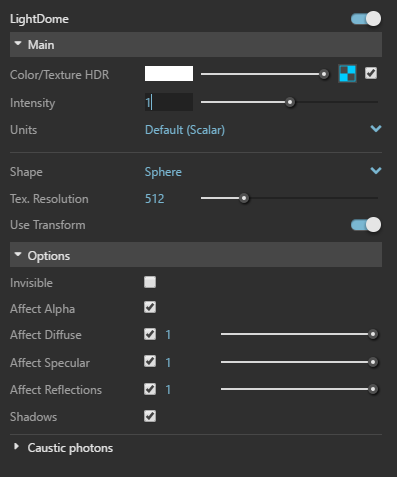
The Color/Texture HDR option is used to select an image to use as (a) a source of colored illumination, and (b) a background image for reflection and refraction. The texture selection and configuration process is almost identical to that for the environment (above).
There are a few other differences you might notice in the image above:
- Unlike the environment, the Shape of the Dome Light may be spherical or hemispherical.
- The Intensity of the Dome Light actually influences the amount of light in the rendering (IF the Units are set to anything but "Default").
- The Use Transform option links the Dome Light's rotation to that of the texture, allowing the image to be oriented with respect to the model by rotating the dome light in Rhino.
Render! (.png format)
Last updated: November, 2017
