TAPESTRY: The Art of Representation and Abstraction
Rhino + V-Ray: Animation
Rhino Animations
The generalized Rhino animation consists of a camera path and a target path. The paths are divided into a number of segments and a frame is rendered using each camera position and each target position.
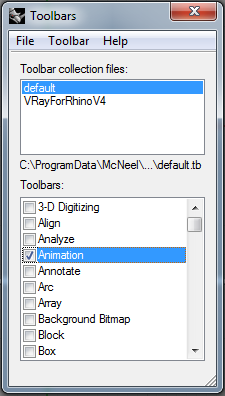
 If not already visible, you will want to use the "Toolbars" option to make the "Setup Animation" and "Animation tools" toolbars visible. Both can be displayed from the "Tools > Toolbar Layout..." menu item (scroll the Toolbars list for the second one).
Animation Setup

Use the Animation Setup tools to select an animation type and control geometry:
- turntable
The camera target is fixed in the center of the model and the camera follows a circular path around the model. - Path Animation (cmd: "SetPathAnimation")
In this mode, you select a camera path (a Rhino line or point object), a target path or point, a number of frames, an output file type, a rendering level ("Frame capture method"), a viewport (usually "Perspective"), and a provide an output "Animation sequence name". This becomes a folder name and the folder will receive a serialized set of frames. - fly through
In these animations a single line is selected to steer the animation. The camera is moved along the line, with station point an focal point selected to keep the view-vector tangent to the line. - sun-path
The camera is held still and the sun is moved.
Animation Tools

Choose
- Settings
- Play (preview) This renders with the current viewport settings, which will often produce real-time (preview) results.
- Render This is where VRay gets called to do the renderings. Make sure to use the VRay options to set all rendering options prior to clicking this button, as it is not possible to cancel a rendering sequence, once started, except by use of the Windows Task Manager. For this reason, I recommend that you SAVE your model settings prior to beginning a long rendering as well.
BEFORE YOU RENDER THAT ANIMATION
- Turn ON "Batch Rendering" in the VRay Options Global Switches rollout.
Ignore the "Animation" settings in the Output rollout - Turn OFF Image Stamps in the VFB.
- Turn OFF the Alpha channel in the VFB.
During rendering, a file will be added to the animation folder for every "VFB Channel" that is active. Since the default settings include both a color channel (the image) and an alpha channel, you will use up disk space and rendering time unnecessarily if you don't remove the alpha channel from the VFB settings before rendering. - Make sure you have selected the "Perspective" viewport in the Rhino interface. Yes, you told the Rhino Animation Setup dialog box to use this viewport, but that isn't enough.
- OK, now click on the red "Record Animation" button in the animation tools. If you click on any of the "usual" blue "Render" buttons, you will only get the current view settings.
- If nothing seems to be happening, notice the prompt up in the Command: area. It shows the current "Target Folder:" and there is a pretty good chance you want to change this. At the very least, review it to make sure the designated folder exists on your system.
- When you're happy with the Target Folder, you can press Enter no the keyboard or right click next to the command and select Enter from the pop-up menu.
Rhino + VRAY Animation Notes:
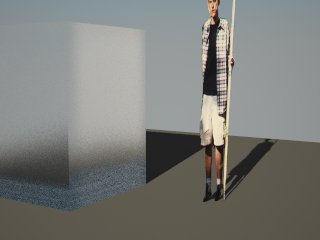
- The sample movie (below) used the default Rhino lights. During animation, this light is locked to the camera, not fixed in location within the model. You can see this by noting how the shadows change as the camera moves around the model, giving the impression that the ground-plane is rotating rather than that the camera is moving.
- A 640x480 pixel version of the sample animation was also done, using the same settings. That animation (4x as many pixels) required about 3x as long to render as the smaller 320x240 version.
Results
As with the SketchUp and Kerkythea workflow, you will need to assemble your frames into a movie once the rendering is done. Rhino makes an "html wrapper" (a local web-page that will load and play the frames in your web-browser), but this isn't appropriate for larger projects. Reference the "From Frames to Movie" page for additional information on this process.


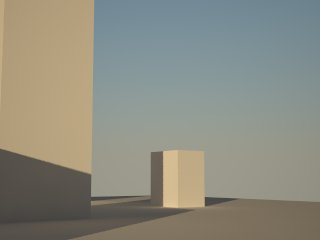
The camera path in the first animation is a portion of an arc. In the second (flythrough) animation, a curve was generated and then control points were moved around vertically to give a more dynamic (roller-coaster-like?) result.
Last updated: November, 2016
