TAPESTRY: The Art of Representation and Abstraction
From Frames to Movie
After the Rendering
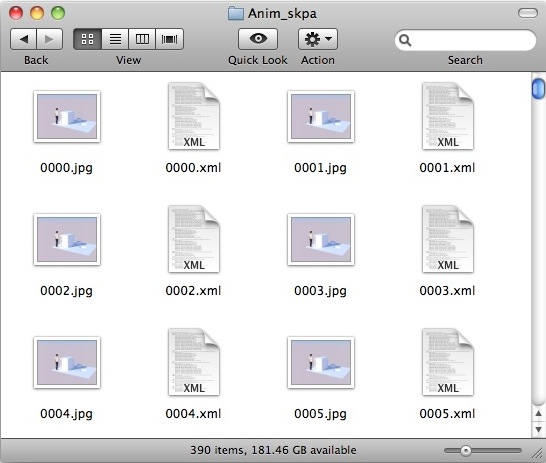
SketchUp can make a movie file of your animation, but Kerkythea and V-Ray simply save each frame as it is rendered, giving them sequential numerical names. You end up with a folder like the one shown below (results of a Kerkythea animation rendering), full of of frames. Now you need to put them together into a movie. This isn't all that hard, but it will require some software help.
Using QuickTime Player
 The "Pro" version of Apple's QuickTime Player can be used to do this (on either Macintosh or Windows). However, on a Mac you'll need to find version 7 of the QuickTime Player (even with QT 10.0 and later, you can keep the old QT7 player around just for this). It's usually in Applications > Utilities. Double-click the icon to launch.
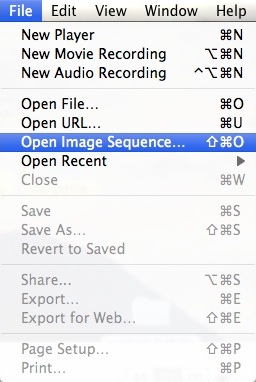 Close the ad-window that opens when you launch the Player and then select "File > Open Image Sequence ..." from the menu. You'll be prompted to open the first image in the sequence. Find "0000.jpg" (or whatever it's called) and select Open.
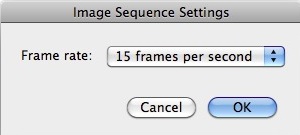 You will be prompted to specify the framerate of the animation. You set a framerate back in your animation program, but that simply controlled how far to move the camera between frames. While you may set a different framerate here, you can't change the number of frames, so this setting simply controls the rate at which these finished frames will be played.
Your Movie in Movie Player
Exporting the Movie as a .MOV or .AVI File
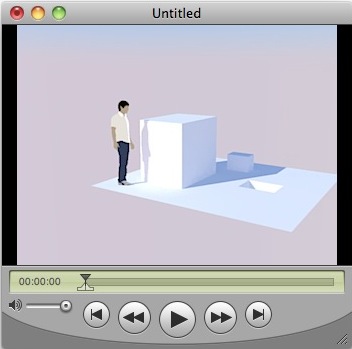
You have now loaded your frames into the player and can view them using the usual playback tools. However, to finish making a movie media file you will need to use File > Export... to save the file to disk.
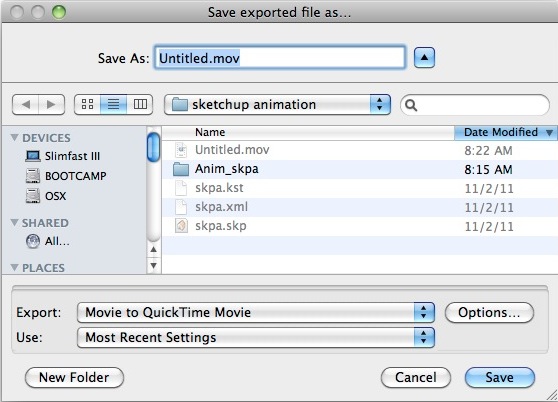
 Set the Export to "Movie to QuickTime Movie". Click Options to review (or set) the options shown at left. You use the Video settings to control the codec and image size of the movie. The first of these is under Settings...
 The options available under "Compression Type" at the top will vary depending on your installation history and platform (Mac v. PC). The choice made will generally trade off file size for playback quality. For web-based playback, Sorenson or H.264 are good choices. If you plan to burn the movie to disk, one of the DV formats should work well.
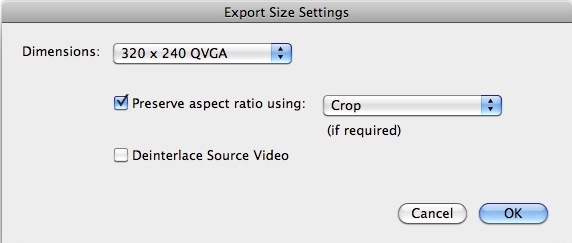 The Size... option in Movie Settings will give you yet another chance to change the playback size. For best results, this size should match the size of the frames you actually generated, but you can ask for the images to be resized. Larger playback size generally equates to larger file size, and vice versa.
That's it. Double-clicking the exported movie should bring up your native movie player on either Macintosh or Windows. Placing the movie in a web page should make it possible to present it online. Or you can upload it to You Tube and start your own movie channel!
Last updated: April, 2014
