TAPESTRY: The Art of Representation and Abstraction
Whirlwind Premiere
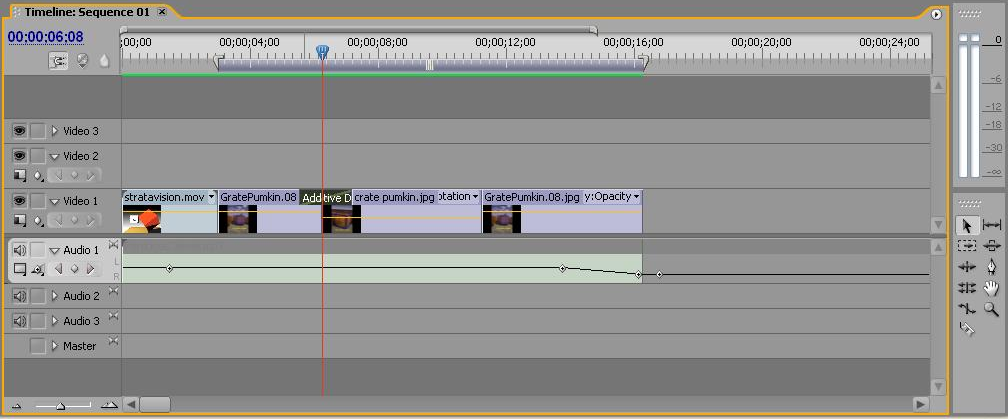
TIMELINE WINDOW
 |
Selection Tools
| ||||||||||||
Lower-left corner |

|
||||||||||||
|
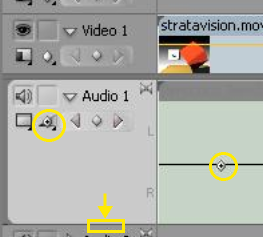
| Timeline Edits By clicking and dragging the boundary between tracks in the timeline display (yellow rectangle and arrow shown at left), you can enlarge the track display vertically. The particular benefit of this is with audio tracks, where you can see the waveform, or (if you click the "Show Clip Volume" icon, the second icon in the second row, cirled at left) the output volume level of the track, shown as a horizontal line on the right side of the graphic.
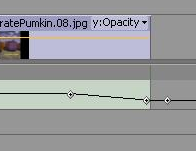
Creating a sound fade Video tracks have a similar feature (just visible in the screen-snap here), but the "volume" is replaced by "intensity" (sort of a visual volume control). |
EFFECT CONTROLS WINDOW
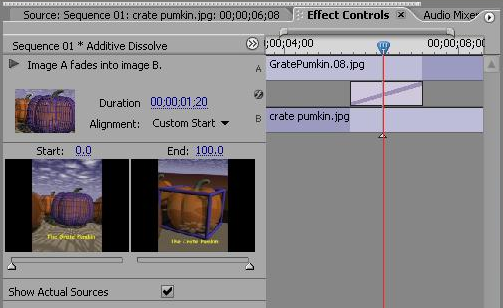
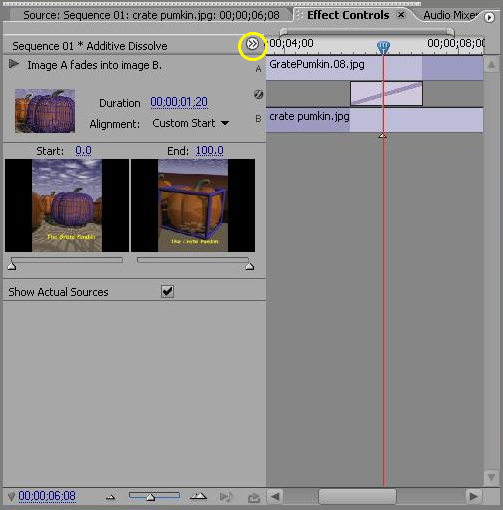
| Effect Edits If you select a clip in the Timeline, you can view details of the clip and it's transitions in the Effect Edit window. Using this window you can adjust dissolves, enable and add motion animations to a still clip, and otherwise "fine tune" the clip's behavior. You may have to click the nearly invisible "reveal" icon (circled in yellow) in order to see some of the detail. |
 |
Last updated: April, 2014


