TAPESTRY: The Art of Representation and Abstraction
Whirlwind Premiere: Exporting The Movie
The Problem
Your finished movie is an amalgam of still and animated content, possibly with a coordinated sound-track. It may have pieces that are in any of a very large number of formats and codecs, at a variety of sizes, and it may be intended to be "consumed" (played) on a TV, a smart-phone, or a desktop.
In short, it needs to be rendered into the proper frame size, sound format, and encoding scheme for final consumption. It's not as easy as Save As ....
Exporting Your Movie Project
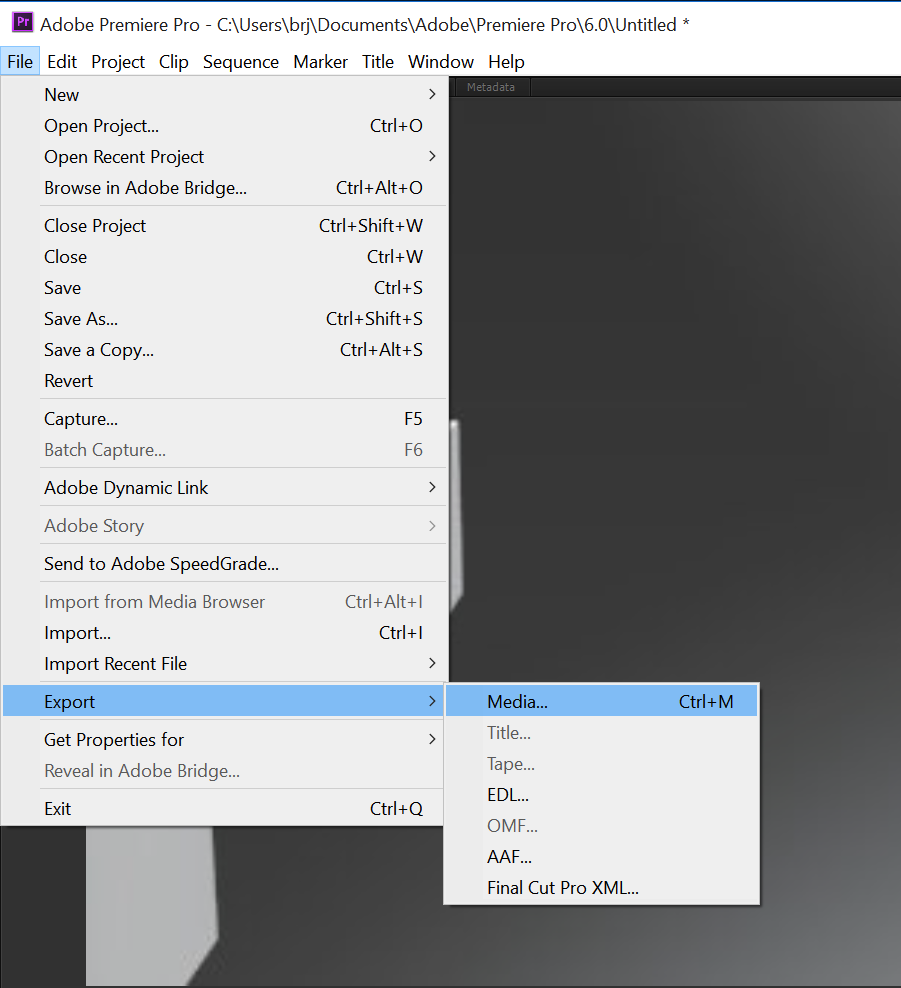 | Begin the "Export" operation The Premiere process we wish to execute is an Export. You can find it in the File menu. In particular, we wish to export to a media file. |
| Export Settings Dialog Box The Export Settings dialog box will appear. While you were asked to specify project characteristics such as screen resolution and output format when you started the project, it turns out that those were provisional specifications. You can change them here if you need to. However, whatever you set for values here will determine how big your resulting media file is and much about how it looks. | 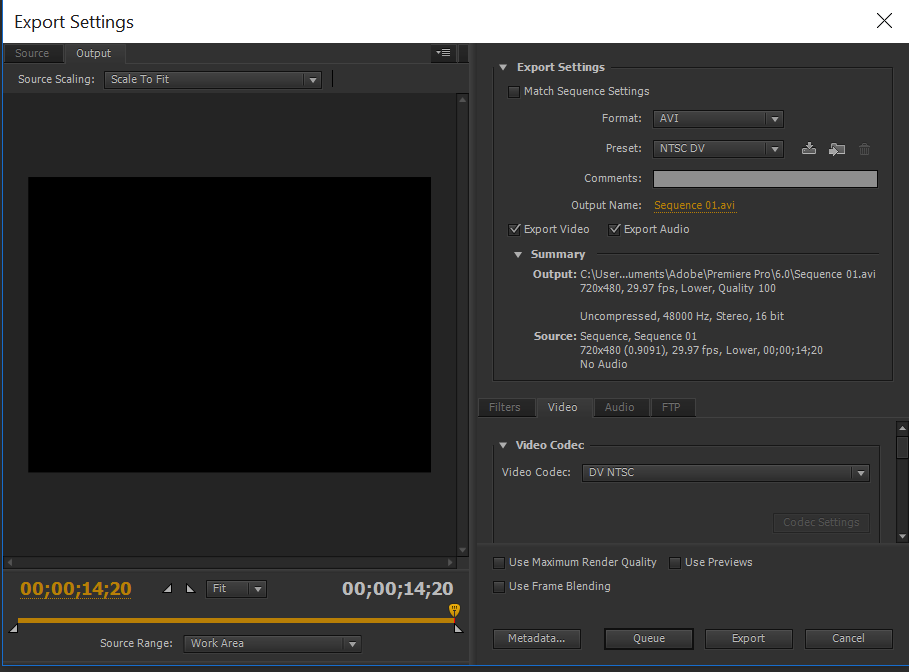 |
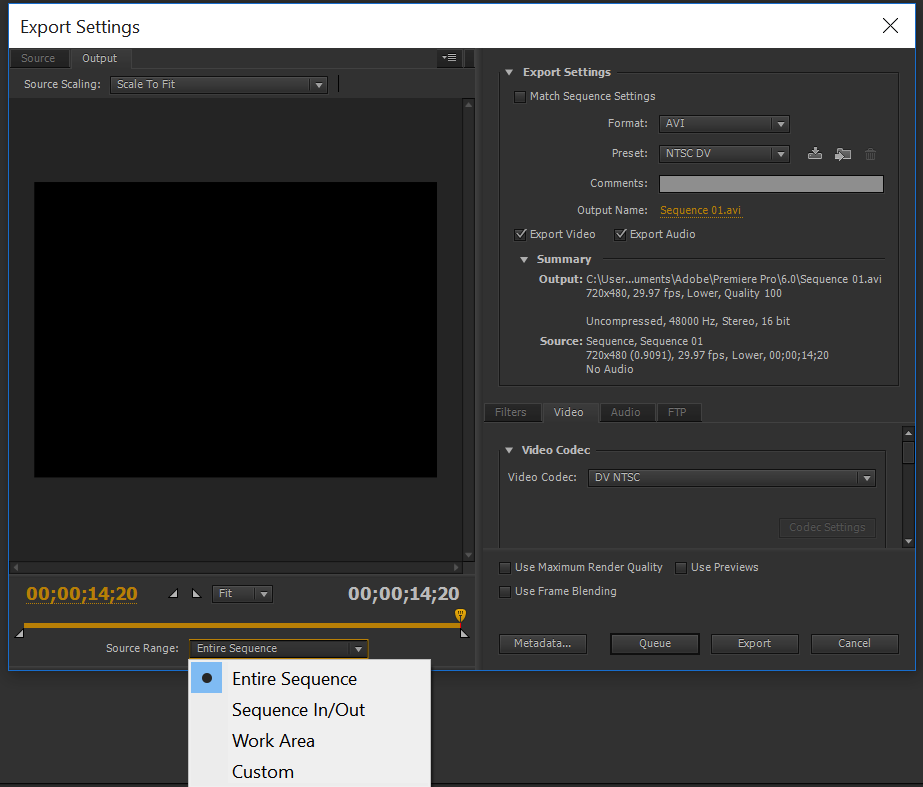 | Export the right stuff! Premiere allows you to establish a "timeline viewport" (defining a smaller section of the timeline) called a "Work Area". You could use this to export fragments of the larger project to test, but in the end You want to be sure you are exporting the "Entire Sequence" as shown in the lower left of the image here. |
| Review Export Settings In the upper right you need to review (and possibly change) the Export settings. The image here reveals changes appropriate to this class (Format: H.264 and Preset: NTSC DV). This might also be a good time to give your movie a name. |  |
 | Check the video settings In the bottom right quadrant of the dialog box there is a tabbed-interface area that gives you access to various detailed settings. In particular, it shows a Video and an Audio tab. Let's start with the Video tab... Here's your last chance to adjust the frame size, and playback frame rate for the finished movie. The value of 29.97 is the value for broadcast TV, but you can choose other values for a digital video clip. |
| Check the Audio Settings There is also an Audio tab in the lower right quadrant. You can use it to fine-tune your audio settings. (Use the Export Audio checkbox in the upper area to indicate whether you have audio or not. Use this to give audio details.) The important Audio settings include the "Format" (aka codec), the "Sample Rate" and the "Channels". Format Sample Rate Channels | 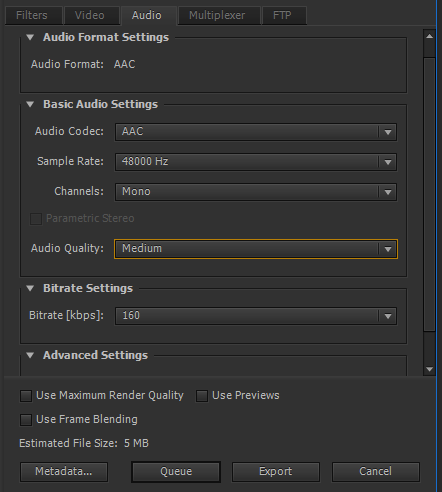 |
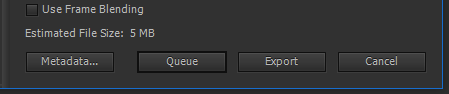 | Finally! You have set and checked all the "packaging" details. It's time for the final choice--render now (while you wait) or render later (using a separate application). This choice will make more sense if you think about producing an entire TV show or documentary in a production environment, where rendering might be done on a different machine, etc. Queue Export |
| Using the Media Encoder If you opt to "queue" the export, Premiere writes up a "work request" for a separate program called "Adobe Media Encoder". This program contains the rendering guts of Premiere, but no editing interface. Premiere launches the Media Encoder, which will display the dialog shown here. NOTE! | 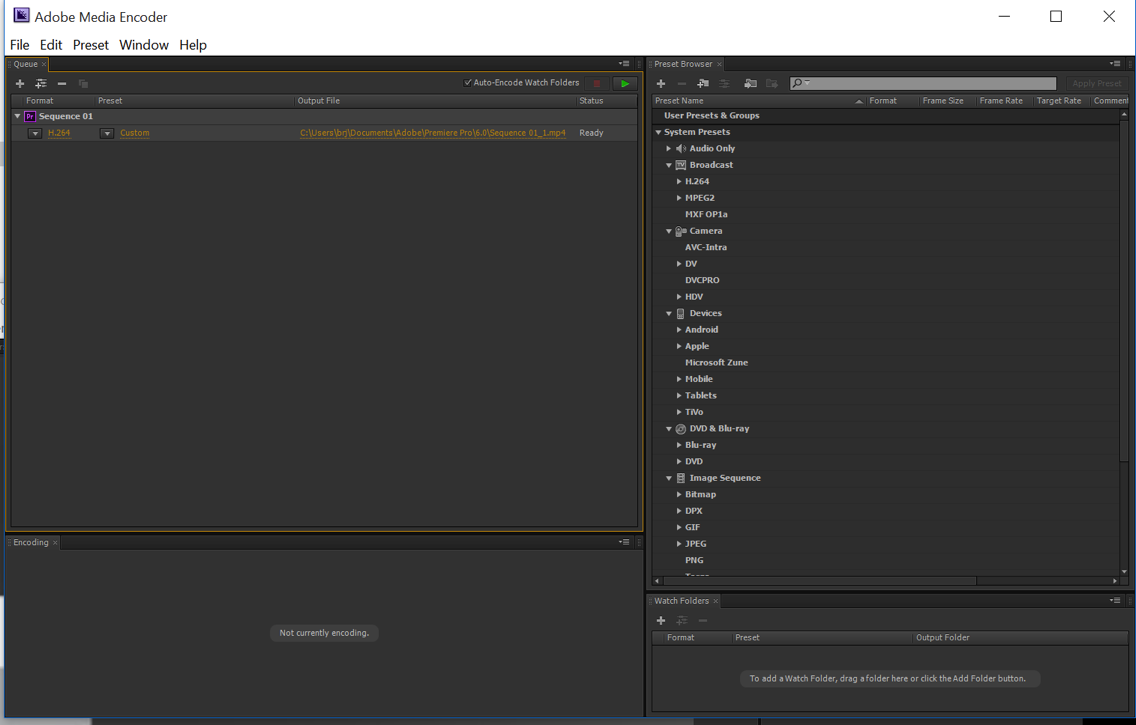 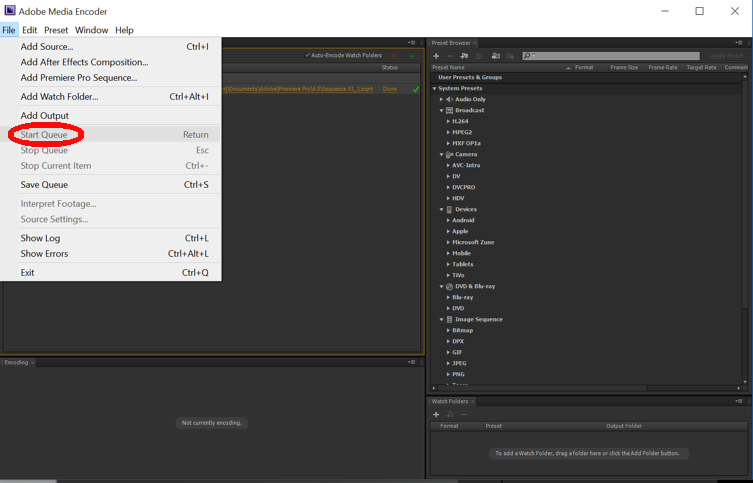 |
Whichever way you create it, your finished movie will be written to disk. When you find it, you may double-click it to open it, but you might want to try opening it in a variety of video players to make sure it works well in each (it's remarkable how different they can be, even on the same computer). And, of course, you can place it on the web, burn it to disk, etc.
Last updated: November, 2016
